Vimeo is a great video sharing site for professionals and hobbyists. It offers its users 500MB of free storage every week, and features SD and 720p HD playback for free and pro users alike. For Vimeo users with large collection of DVD disc, you may often come the idea to upload and share your favorite DVD movies on Vimeo.
Rip DVD for Vimeo uploading
Although Vimeo supports to upload digital video in various different file extension such as AVI, WMV, MP4, MOV, WebM, FLV, 3GPP, etc. However, DVD is not in the list, the only solution to upload DVD to Vimeo is to rip DVD to one of Vimeo accepted uploading formats listed above. It won’t be difficult at all to find a DVD Ripper software to perform the DVD to Vimeo ripping process. However, in order to upload ripped DVD to Vimeo smoothly with best quality, it would be much ideal for you to export your DVD to video that match Vimeo’s best uploading specifications listed below:
Vimeo’s best uploading settings
Vimeo accepts SD and HD videos, and each of these video types have different compression specifications. To create the best-quality video with the smallest file size, use the H.264 video encoder.
Then, you’ll need to limit the bit rate of your video to 2,000-5,000 kbps for SD, and 5,000-10,000 kbps for 720p HD video. Scaling back your bit rate to Vimeo’s specifications will ensure smooth playback for your audience. Vimeo supports constant frame rates of 24, 25, or 30 (or 29.97) frames per second. If your video was shot at a higher frame, just divide that frame rate by two and compress accordingly.
The audio for your project should use the AAC-LC audio codec, and the data rate should be limited to 320 kbps. The sample rate for your audio should be 48 kHz – if your project’s audio is less than 48 kHz, which is probable, you can leave your audio at its current sample rate.
Best tool to rip DVD for Vimeo sharing and posting
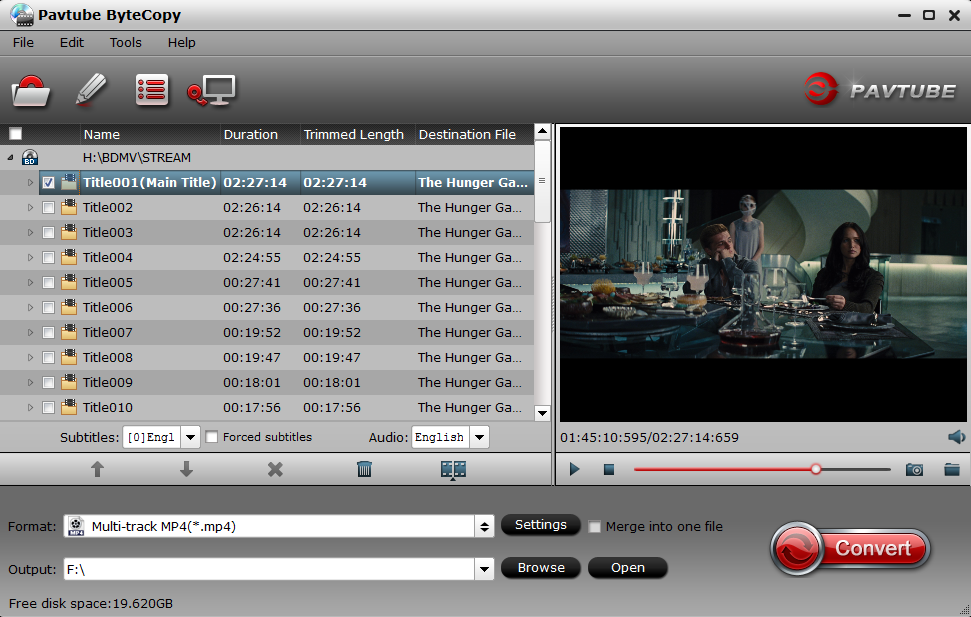
To produce the best uploading settings of Vimeo from DVD, we highly recommend Pavtube ByteCopy to you, this cross-platform application is available on both Windows and Mac platform. With the program, you can not only powerfully and automatically bypass all copy protection from DVD disc, Video_TS folder, IFO/ISO image file, but also directly rip DVD to Vimeo compatible uploading container file formats listed above. What’s more, to assist you to adjust to export Vimeo most preferable uploading settings, the program enables you to flexibly adjust output profile parameters such as video codec as H.264, resolution as 720p HD with the bit rate range of 5,000-10,000 kbps, frame rate as 24/25/30(29.97)fps, audio codec as AAC, bit rate as no more than 320kbps, sample rate as 48kHz, etc in its “Profile Settings” window.
Vimeo video file size uploading limitation
If you are using a Vimeo Basic account, you can upload videos up to a size of 500MB per week (not per video!). Vimeo Plus members can upload videos up to 5GB per week, while members with a Vimeo PRO account have a limi of 20GB per week. Every seven days, the upload space is refreshed and you can upload according to your quota again.
Related article: Convert DVD VOB to YouTube | Best Compression Settings for Vimeo | Upload 4K to Vimeo
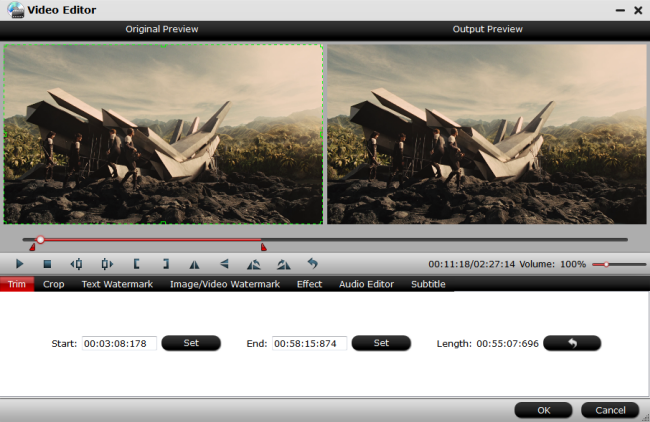
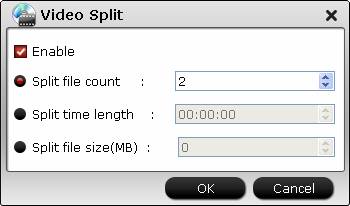
If the output video file size excess the uploading size limitation for your account, you can use the trimming function offered by the program to cut off unwanted parts or segments or the splitting function to split your desired DVD titles into small by file size, count or length.
For Mac users, you can go to download Pavtube ByteCopy for Mac to perform the conversion on macOS High Sierra, macOS Sierra, Mac OS X El Capitan, Mac OS X Yosemite, Mac OS X Mavericks, etc.
How to Rip and Optimize DVD for Vimeo Uploading with Best Quality?
Step 1: Import DVD Movies.
Download, install and run this DVD ripper. You can load DVD by clicking “File” > “Load from disc”. Or load DVD Folder by clicking “File” > “Load from folder” or load DVD IFO/ISO image by clicking “File” > “Load IFO/ISO”.

Step 2: Choose Vimeo Output Format.
As we stated above, the best uploading formats for ripping DVD to Vimeo is 720p H.264 video. So you can just select “H.264 HD Video(*.mp4)” under “HD Video” main category.

Step 3: Output Vimeo best uploading settings.
Click “Settings” on the main interface to open “Profile Settings” window, here, you can flexibly adjust Vimeo best favorable profile parameters including video codec, resolution, bit rate, frame rate, audio codec, bit rate, sample rate, channels, etc as the values we have listed above.

Step 4: Trim or split Vimeo files.
Trim
In the video editor window, choose the “Trim” tab and this tab is selected by default when the editing window appears. You can use the trim function to cut off unwanted parts from start and end. You can either drag pointers on the process bar or set exact time point in Start and End boxes to set.

Split
Click the split button on the file list to launch the Video Split window. Ticking “Enable” option, you can split the file by file count, time length, or file size.

Step 5: Start converting DVD to Vimeo friendly format.
After the above steps are done, you can click “Convert” button to convert DVD to Vimeo most compatible format and settings for fast and high quality uploading.


